How to Fix a Leaky Shower Head?

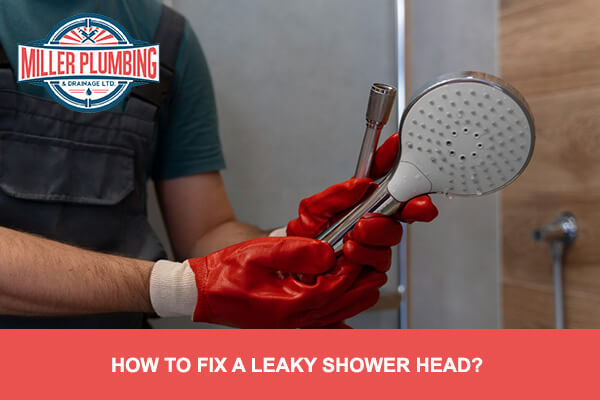
A leaky shower head isn’t just annoying; it can also waste water and increase your utility bills. Fortunately, you can often fix a leaking shower head with a few simple steps.
Here’s our easy guide to fixing a leaky shower head!
1. Identify the Cause of the Leak
The first step to fixing a leaky shower head is determining the cause. The leak could come from several places:
- Faulty Diverter: Often times when experiencing water leaking from the shower head, the diverter that diverts the water from the tub spout to the shower head is not working properly anymore.
- The Showerhead Itself: Sometimes mineral buildup or damage can cause water to drip.
- The Connection Between the Showerhead and Arm: A loose connection here can lead to leaks.
- The Faucet or Valve: If water drips from the shower head even when the faucet is off, the problem could be with the faucet’s valve. This is likely a cartridge issue.
2. Gather Your Tools and Supplies
Before you begin, gather the tools you’ll need:
- Adjustable wrench
- Plumber’s tape (Teflon tape)
- Small brush or old toothbrush
- Vinegar (for mineral buildup)
3. Turn Off the Water Supply
While it’s usually safe to work on the shower head without turning off the main water supply, it’s a good idea to close the shower valve or make sure no one uses the shower while you’re working. This helps prevent any accidental water bursts.
4. Clean the Shower Head
If mineral buildup is causing the leak, cleaning the shower head may solve the problem. Remove the shower head by unscrewing it with an adjustable wrench. Soak it in a bowl of vinegar for about an hour, then scrub away any remaining buildup with a small brush. Rinse thoroughly and reattach.
5. Check the Washer and O-Ring
If the shower head continues to leak, check the washer and O-ring inside. These small rubber components can wear out over time, leading to leaks. If they’re damaged or worn, replace them. Washers and O-rings are typically inexpensive and available at any hardware store.
6. Apply 3M Plumber’s Tape
A leak may also be due to a loose connection between the shower arm and head. After removing the shower head, wrap 3M plumber’s tape (Teflon tape) around the threads of the shower arm to create a tight seal. Wrap it two or three times, then reattach the shower head. This simple step often prevents leaks.
7. Test for Leaks
Once you’ve cleaned, checked, and reattached everything, turn on the shower to see if the leak persists. If it still drips, the problem could be deeper in the plumbing system. This is when calling in a professional plumber is your best option.
Get Your Shower Head Fixed or Replaced at Miller Plumbing & Drainage
Is your shower head still leaking? Or maybe you’re thinking of upgrading to a new model? At Miller Plumbing & Drainage, we’ve been helping Burnaby and Vancouver residents with reliable plumbing services for 13 years. Whether you need shower repair & installation services, such as fixing a leaky shower head, upgrading to a newer model, replacing your diverter or replacing a faulty cartridge, our team is here for you.


